Helplessly watching a banana turn brown on the counter is can be frustrating. Do you feel like your berries barely last hours before the turn to mush? Fresh, plentiful apples can be an awesome fall treasure but it can be a challenge to use them up quickly.
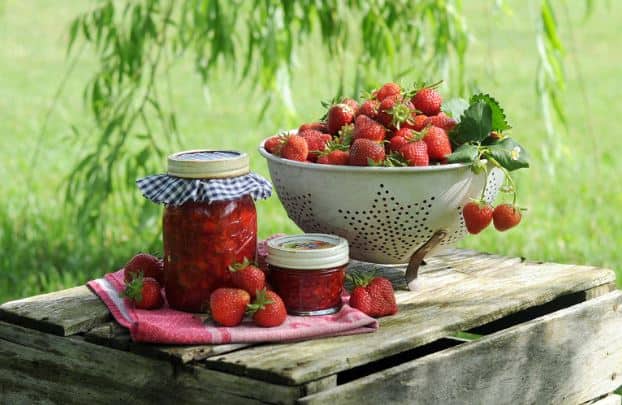
The fresh fruit that’s readily available can fluctuate quickly from season to season. Sometimes, harvests are abundant, but only for a very short term period of time. Preserving fruit is the best way to make the most of a large crop and take advantage of it when it’s at its peak. It’s also a great way to avoid the disappointment that comes with watching fruit go to waste.
You can do everything from can your fresh fruit to making delicious, flavorful jellies and jams. Dried fruit and fruit leathers make the perfect healthy but sweet snacks. You can even pickle your fruit for a unique way to preserve it.
These methods don’t require any complicated tools or equipment. The processes are simple and you don’t need tons of experience in the kitchen. By using these ways to preserve your fruit, you can lock in the flavor and freshness to enjoy later.
Cleaning Your Sealing Jars
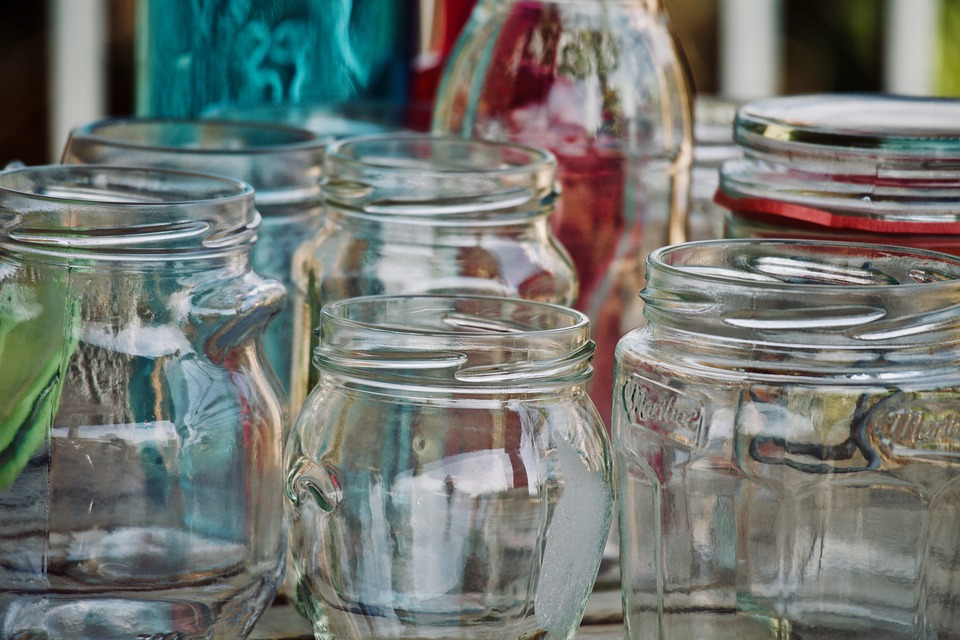
Sanitizing
Whether you’re pickling, canning, or making jams and jellies, its safest to start with sanitized jars and lids. This provides you with the cleanest storage option. It also helps your preserved fruit stay fresher.
To start, clean your jars and hot soapy water then rinse them well. Then, using a heavy stockpot, cover them with at least two inches of water. Bring the water to a boil for the correct amount of time corresponding to the altitude of your home.
- 0 – 10,000 feet: 10 minutes
- 1,000 – 2,000 feet: 11 minutes
- 2,000 – 3,000 feet: 12 minutes
- 3,000 – 4,000 feet: 13 minutes
- 4,000 – 5,000 feet: 14 minutes
- 5,000 – 6,000 feet: 15 minutes
- If you are unaware of your home’s altitude, your safest bet is to boil for 15 minutes.
Remove the jars from the water with tongs and place them upside down on a clean, dry towel. Then, continue the boil, adding the lids for the same amount of time. When they are done, place them on the towel to dry as well.
Sealing
Once you’ve filled your jars with preserved fruit, sealing them can help lock in the freshness. The process will also help maintain the fresh taste of your fruit. It’s a simple process and you can use the same pot you sanitized your jars in.
Make sure your jar lids are on tightly. Carefully place your jars into the bottom of the pot and cover them entirely with water. Bring the water to a boil and allow the jars to sit in the water for ten minutes.
Remove the jars and set them on a towel to cool. To test the seal, press down in the middle of the jar’s lid. If it pops back up, the jar isn’t sealed well. Repeat the sealing process until the lids no longer buckle when they are pressed on. Allow the jars to cool completely and store them in a cool, dry place like a pantry or cabinet.
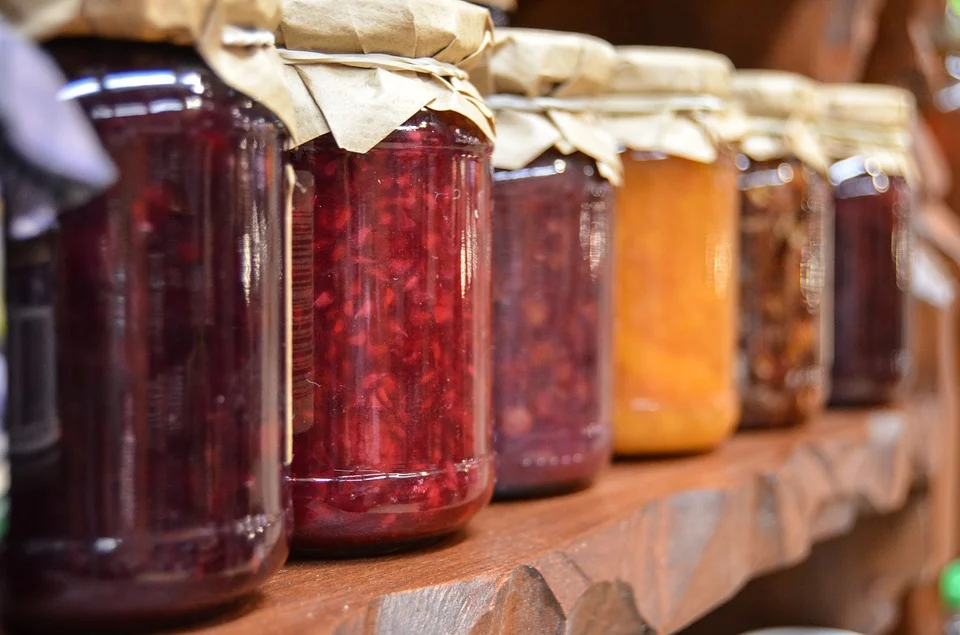
Canning
Canning is one of the most tried and true methods for preserving fruit that’s been around for centuries. It requires minimal ingredients and the process is relatively simple. Plus, canned fruit has a long shelf life so you can enjoy your fruit long after harvest.
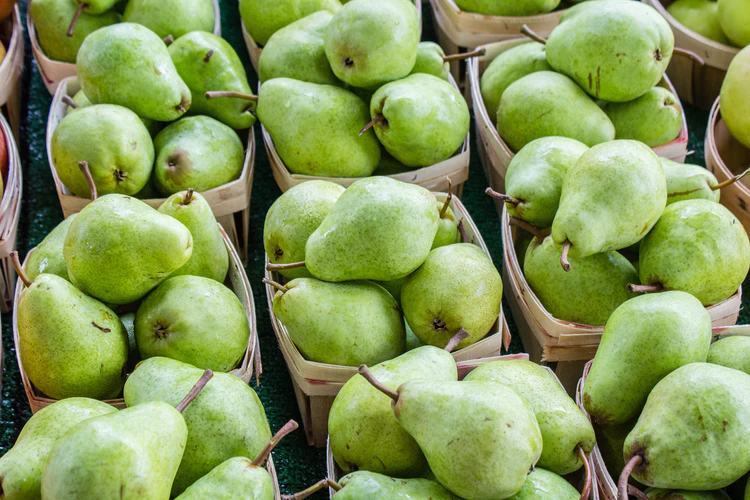
Pears
Peel your pears with a vegetable peeler and cut them into quarters. Carefully remove the stem and the core. Spray them with lemon juice to keep them from browning as you process them.
Place the slices in a large pot and cover with water. Add a cup of sugar for every quart of water you need. You can also add a sprinkle of cinnamon if you want a burst of flavor. Bring the pears to a boil and stir them carefully so they don’t break. Boil them for about five minutes, making sure all of the sugar dissolves.
Remove from heat and allow to cool slightly. Then, carefully fill the jars with the cooked pears using a slotted spoon. Pour the sugary water over the tops of the pears, leaving about half an inch at the top of the jar. Close the lids and seal your jars and you’ll have fresh pears that are perfectly preserved.
Applesauce
During the fall, when the trees are bursting with apples, it’s a great time to make applesauce. It’s a delicious use of any variety of apple. Plus, it’s a crowd favorite with the kids!
First, begin by peeling your apples. Remove the core and cut them into one-inch chunks. Place them in a large pot and add just enough water that they are covered.
You can change up the ingredients to suit your tastes. You can choose to keep it simple and just use apples. A few scoops of sugar can help to sweeten up applesauce, especially if you are using tarter apples. Cinnamon and nutmeg can be sprinkled in to add a warm, spiced flavor.
Simmer the apples until they are soft and most of the water is evaporated. Remove the pan from the heat and allow it to cool enough to handle. Then, using a potato masher, puree the applesauce. You can leave it chunkier if you prefer or keep mashing it until it becomes smooth.
Taste the applesauce and stir in more sugar or spices if necessary. Bring the applesauce back to a low simmer and allow it to cook until it’s the desired thickness. Make sure to stir it occasionally so it doesn’t stick.
Once it’s done, you can allow it to cool for canning. Fill your jars with your prepared applesauce to about an inch from the top. Seal them in a boiling bath for about twenty minutes. Then, allow them to cool and store them for a yummy treat to enjoy later.
Pickling
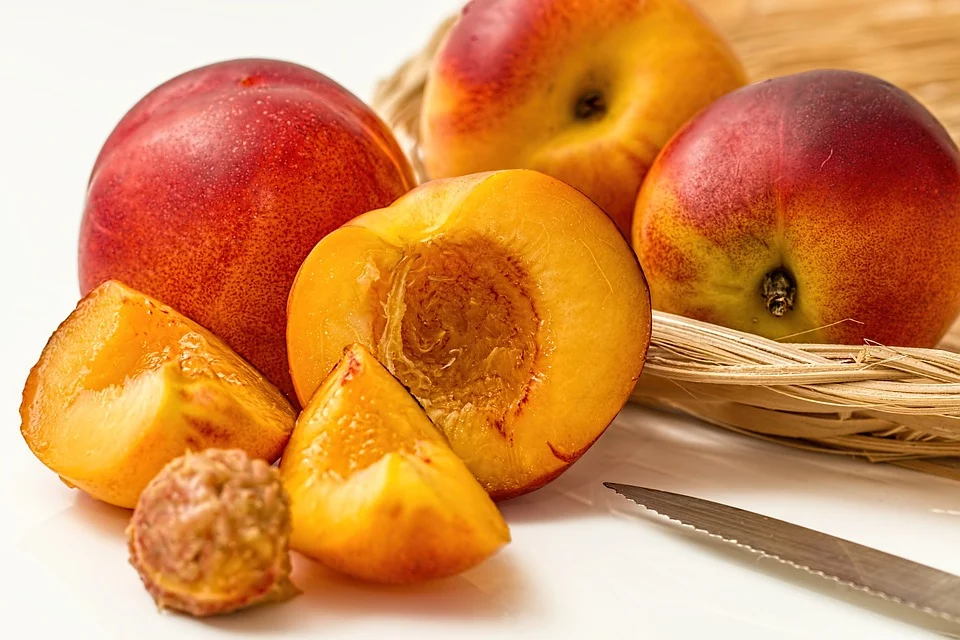
Peaches
Pickling’s not just for cucumbers anymore, it’s also a great way to preserve fruit. Fresh peaches barely last a few days on the counter before sadly softening. However, if you pickle them, you can enjoy them much longer.
You’ll first need to blanch and peel your peaches. Bring a large pot of water to a rolling boil and cut a small crisscross on the bottom of the peaches. Then, gently lower them into the boiling water.
Allow the peaches to boil for two or three minutes. Then remove them and immediately put them in a bowl of ice water. Allow them to cool then gently peel off the skin.
First, you’ll need to sterilize and prepare your jars. Then, make your pickling mixture. For every pound of peaches, you’ll need a cup each of vinegar and water. Stir in a cup and a half of sugar for every pound also. Place the peaches in the mixture and allow them to cook for about twenty minutes.
You can then place the peaches in the jars and pour the liquid over them. Add a bit of cinnamon or clove for extra flavor. Then, seal the jars and let them pickle to enjoy a taste of summer later.
Cherries
The tartness of cherries also makes them delicious when pickled. The cherry season can be short but the fruit is in abundance at the peak of it. Take advantage of their bounty and pickle them. They can last for months this way so you can enjoy them all winter.
Thoroughly rinse your cherries. Then, use a cherry pitter or a straw to remove the pit from each one. Set them aside and sterilize your jars.
Use a saucepan to make your brine. You’ll want to make enough to cover your cherries and fill your jars almost to the top. Bring equal parts apple cider and water to a boil, adding a quarter of a cup of brown sugar for every two cups of brine. You can also add a few drops of vanilla if you would like.
Simmer the mixture until the sugar dissolves. Stir in the cherries and cook for just a few minutes until they start to soften. Carefully pour the mixture into the jars and make sure the cherries are completely covered with the brine.
Seal your jars and keep them in a cool dry place. Your pickled cherries should stay preserved for up to five or six months. They are a delicious way to add color and a punch of flavor to cheese plates or salads.
Jams and Jellies
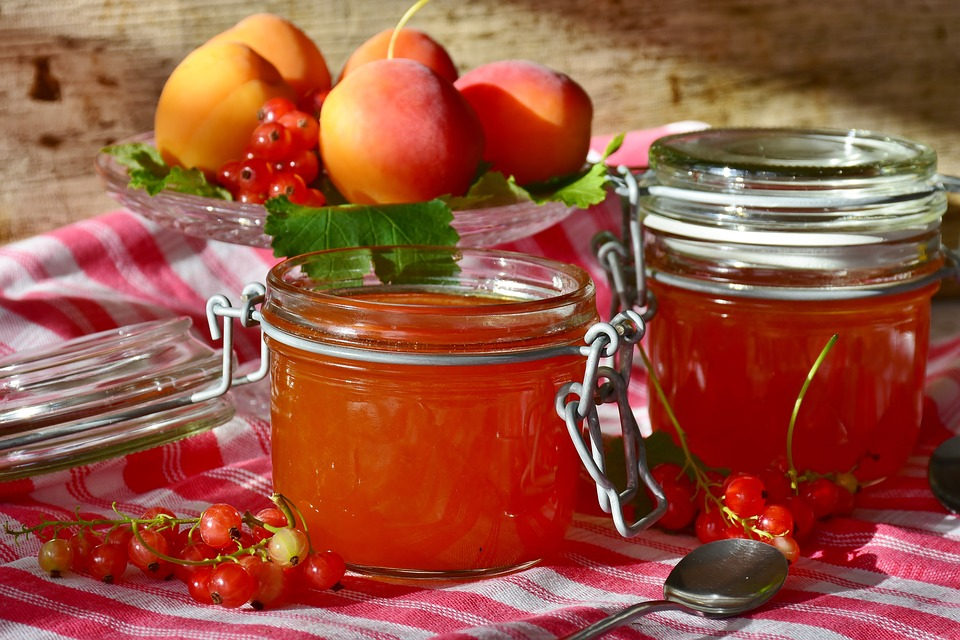
Jams
Making jam is a great way to preserve whole fruits and capture their fresh flavors. You can keep it up to a year and use nearly any fruit. It’s a delicious way to top everything from toast to muffins and scones.
Everything from peaches and nectarines to all variety of berries can make a yummy jam. You can even create combinations of your favorite fruits for a custom recipe. Mixed berry jam is perfect to pair with peanut butter while tomatoes and herbs make a savory jam, perfect for spreading on cheese and crackers.
Choose your fruit and rinse it in a strainer. Then, begin cutting your fruit into pieces if you aren’t using berries. You want the pieces to be as close to the same size as possible to encourage even cooking.
Place the fruit in a pot and add a quarter cup of sugar and the juice from one lemon for every cup of fruit. You can always taste and add more later. Stir the sugar, lemon juice, and fruit together well and allow it to sit for about half an hour. This will start the process of breaking down the fruit.
Then, bring the mixture to a strong boil. It’s important to stir it frequently so it doesn’t burn or stick. After about twenty minutes, you can start checking if your jam has set. Using a wooden spoon, scoop a small bit out of the pot. Allow it to cool slightly and check with your fingers to see if it’s reached a gel-like texture. If not, simply keep boiling and stirring.
Once your jam has reached the desired texture, you can check it for flavor. Taste your jam to see if you need to add more sugar. It’s important to add any ingredients when the jam is still hot to ensure they mix in properly. You can also add these other ingredients for a burst of flavor.
- Lemon juice: add small amounts, tasting in between, if your jam is too sweet
- Sugar: stir in a spoonful at a time until you reach the desired sweetness
- Herbs: dried rosemary is delicious in tomato jam while basil goes great with berries
- Vanilla: tastes great and brings out the flavor in berry or peach jams
Once you’re happy with the flavor of your jam, it’s time to can it. Fill your sterilized jars with the hot jam to as close to the top as possible. Replace the lids and seal the jars in a boiling water bath for about fifteen minutes, making sure the lids are completely sealed before storing.
Jelly
Jelly is another wonderful way to use a wide variety of fruits. Berries and stone fruits like peaches and plums make delicious jellies. The jelly can later be used as a spread and in a variety of different recipes.
Start by cleaning and cutting your fruit into similar sized pieces. Place the fruit in a saucepan and barely cover it with water. Bring it to a boil and allow it to cook for about fifteen minutes, using a potato masher to break the pieces of fruit apart.
Place a cheesecloth over a bowl. Pour the mixture into the cheesecloth and allow it to drain into the bowl for several hours. After there are several cups of juice in the bowl, tie the cheesecloth closed and gently squeeze it over the bowl to release the rest of the juice.
Place the juice in the saucepan and add half a cup of sugar for each cup of juice. Bring the mixture to a boil, stirring in a splash of lemon juice and a dash of salt. Taste and adjust the sugar and lemon juice as the mixture thickens.
Test the jelly to make sure it’s gained a smooth, thick consistency that holds together. Then, place the hot jelly into your prepared jars. Follow the process to seal the jars and store them in a cool, dark place until ready to use.
Drying
Drying fruit is one of the tastiest ways of preserving it. By removing the moisture, the fruit has a longer shelf life. Plus, it’s still amazingly sweet and delicious.

Apples and Pears
Drying apples and pears intensify their flavor and allows you to enjoy them longer. The process is simple and easy and can be done without any special equipment. Look for fruit that is firm and isn’t super juicy.
First, you need to carefully remove the peel and stem. You can slice the fruit in half, remove the core, then cut thin slices crossways. If you want to make rings, you’ll need to slice crossways first, then carefully remove the core from each slice. The most important part is trying to get the slices to a uniform thickness of about a quarter an inch each.
If you are cutting a lot of fruit, make a bowl of lemon water to keep it from browning. Just add two tablespoons of lemon juice to a bowl of water. Then, drop the slices into the bowl as you cut them.
Drain them by gently shaking them in a strainer, tossing them to remove as much water as possible. Carefully arrange the slices on a baking sheet. It’s important to leave space between them and make sure none are overlapping.
Turn your oven on to about 150 degrees. Place the baking sheet in the oven and check on the fruit about every thirty minutes, rotating the baking sheet each time. The fruit is done when it’s to the chewiness or crispiness you desire. This can take anywhere from five to ten hours.
When it’s ready, remove the fruit from the oven and allow it to cool. Tear a slice in half to test the dryness. No juice should remain inside the fruit. If so, pop it back in the oven and follow the same steps again.
Place your completely cooled, dehydrated fruit in a container with plenty of room. Stir the fruit daily for a week and watch for moisture. If you see any on the inside of the container, you’ll need to return the fruit to the oven for another hour or two.
Once your fruit is completely dehydrated, you can put it in airtight containers. Tightly seal them and store them in a dark, cool place. You can savor the sweetness of fresh apples and pears over the next few months.
Berries
Berries are delicious and super good for you. However, they seldom last long, even when refrigerated. Drying them preserves their sweetness and health benefits.
Raspberries, strawberries, and blueberries. All sweet, yummy, and able to be dried. Using the same method for all of them, you can dehydrate them to give them a longer shelf life.
Clean your berries first and discard any that are smashed or mildewing. Small berries like blueberries can be dried whole. However, raspberries do better when halves and strawberries should be cut into thin, even slices.
Preheat your oven to 200 degrees and line a cookie sheet with parchment paper or a silicone mat. Arrange the prepared berries on the cookie sheet, leaving plenty of space between them. Put them in the oven for about two hours, flipping or shaking halfway.
Pull the berries from the oven and allow them to cool. Test them to make sure they are fully dehydrated. Place them in an airtight container and you’ll have a healthy snack to enjoy in the weeks to come.
Fruit Leather
Like drying, making fruit leather eliminates the moisture from the fruit to preserve it. The sweet treat is relatively simple to make and to store. It makes it easy to save your produce from the compost bin and create a delicious treat for later.
Everything from grapes to apples and berries can make awesome fruit leather. It’s a great way to get an extra few weeks out fruits that tend to spoil quickly like mangoes and bananas. Different combinations of fruits can even create interesting flavors.
Rinse your fruit and place it in a pan with a quarter cup of water for every cup of fruit. Start simmering the fruit and mashing with a potato masher. Let the fruit cook for about fifteen minutes or until most of the water is gone.
Taste the mixture and add sugar if it’s not sweet enough. You can also add a few drops of lemon juice to balance the flavor if it’s too sweet. Keep simmering and mashing until the mixture is completely smooth and thickened.
Using a food mill, process the fruit into a puree. Prepare a cookie sheet with parchment paper or a silicone mat. Spread the puree onto the cookie sheet so it’s about a quarter of an inch thick. Place it in the oven at 200 degrees Fahrenheit for a few hours.
Check the leather after three hours to see if it’s dried. Once the top is smooth and not sticky, flip the leather over and dry the other side. When both sides are completely dry, remove it from the oven and allow it to cool.
Slice your leather into strips with scissors or a very sharp knife. Roll up your leather and keep it in an airtight container. It will stay fresh for snacking for the next week or so.
Conclusion
Preserving fruit is a great way to save quickly deteriorating produce. It gives you the chance to enjoy the taste and nutrition of fresh fruit all year round. By creating your own spin on these methods, you’ll find your own ways to preserve your favorite fruits.
Canning, pickling, and making delicious jams and jellies aren’t as overwhelming as it may seem. Creating fruit leathers and dried fruits give you a perfect, healthy snack for the whole family. You’ll enjoy combining flavors and trying new methods as you give your precious fruit crop a much longer shelf life.