Imagine back before 1913 when the first refrigerator for home use became available. Certainly, people were able to keep food fresh for longer periods of time but how? The secret is root cellars. While this may seem like an out of date option for food storage, everything old is new again, because root cellars are growing in popularity.
Even if you yourself don’t have a little house on the prairie, a root cellar may be just the ticket for keeping your garden-grown bounty fresh and usable throughout the cold winter months and into the spring. Whether you opt to build your root cellar yourself or hire a professional to help, the steps need for building a great root cellar are fairly straightforward.
If you’ve always been curious about how to go about making your own root cellar, you’re in the right place. Here is a great step by step breakdown and all the information you’ll need to learn about root cellars and how they can benefit you. With a little effort, you too can have a root cellar of your very own.
Why Have A Root Cellar Anyway?
Technically, a root cellar is an underground food storage area that uses natural cooling. Root cellars are able to preserve food because they’re kept at a constant temperature of around 32 degrees, similar to a fridge, but they offer some benefits that a fridge cannot. Root cellars are able to keep their humidity levels up, which helps the food stay fresher longer.
When temperatures are kept cool, the release of ethylene gas produced by vegetables goes down, as does the growth of microorganisms. This means that produce stays fresher longer without freezing or breaking down.
This is why many root cellars are dug into the ground: the soil prevents vegetables from freezing and the moisture keeps fruits and veggies from drying out from the evaporation. While the length of time things will stay fresh in a root cellar can vary wildly, because there is often more room in a root cellar than a fridge, it’s easier to use things up and not forget that they’re there.
Root cellars don’t rely on electricity to work which is why they’ve grown so popular recently. With many people who are preparing for natural disasters and even zombie apocalypses, there’s a lot of renewed interest in having a root cellar once again. But even people who are looking for cost-effective ways to store their food can appreciate what root cellars have to offer.
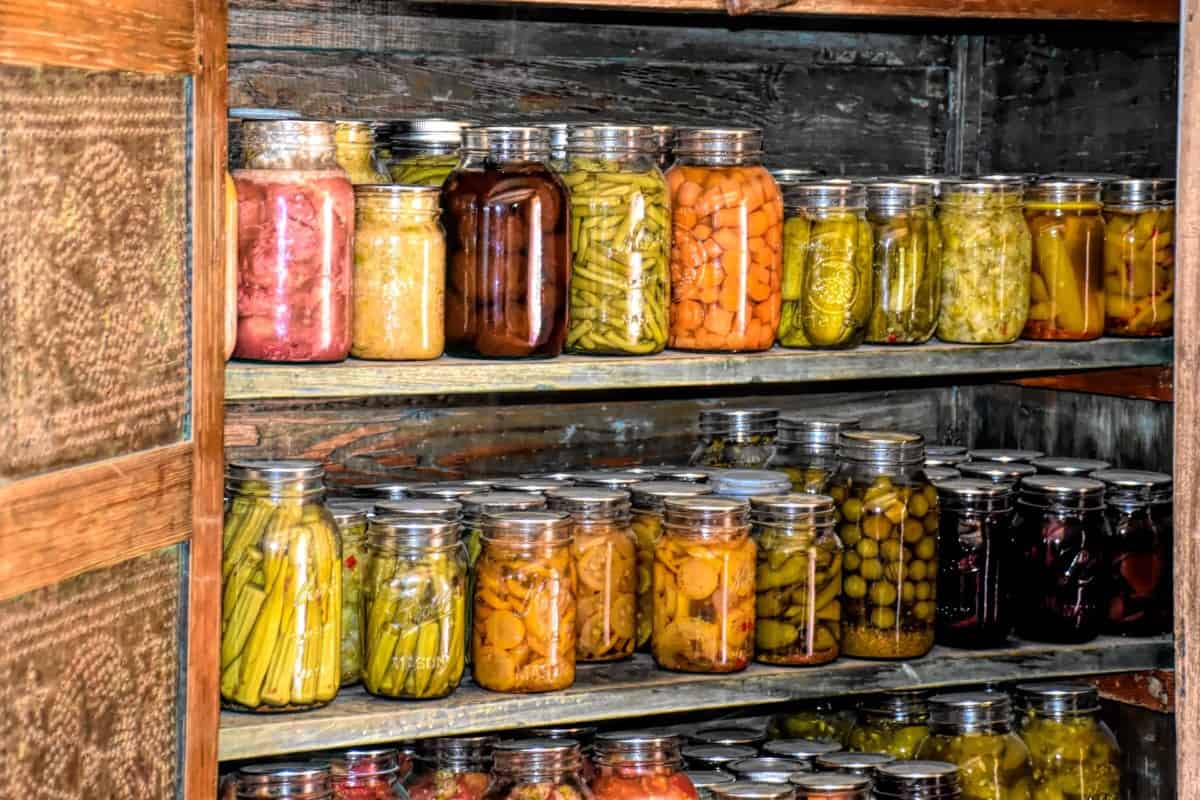
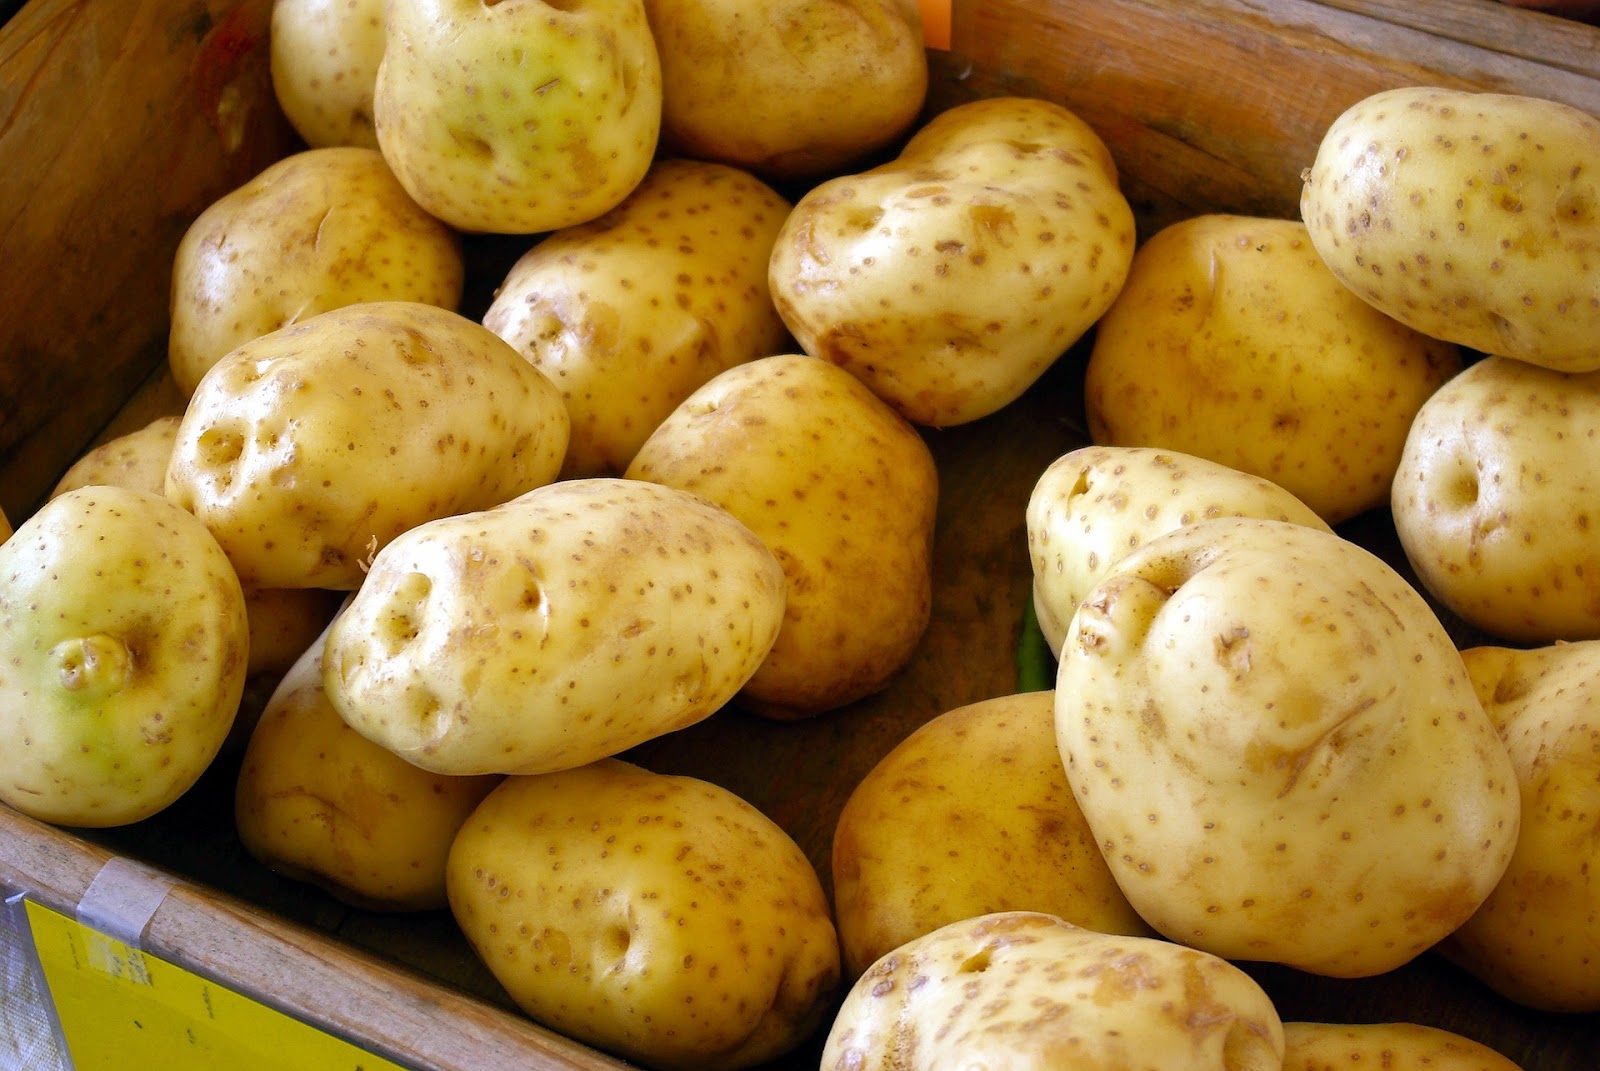
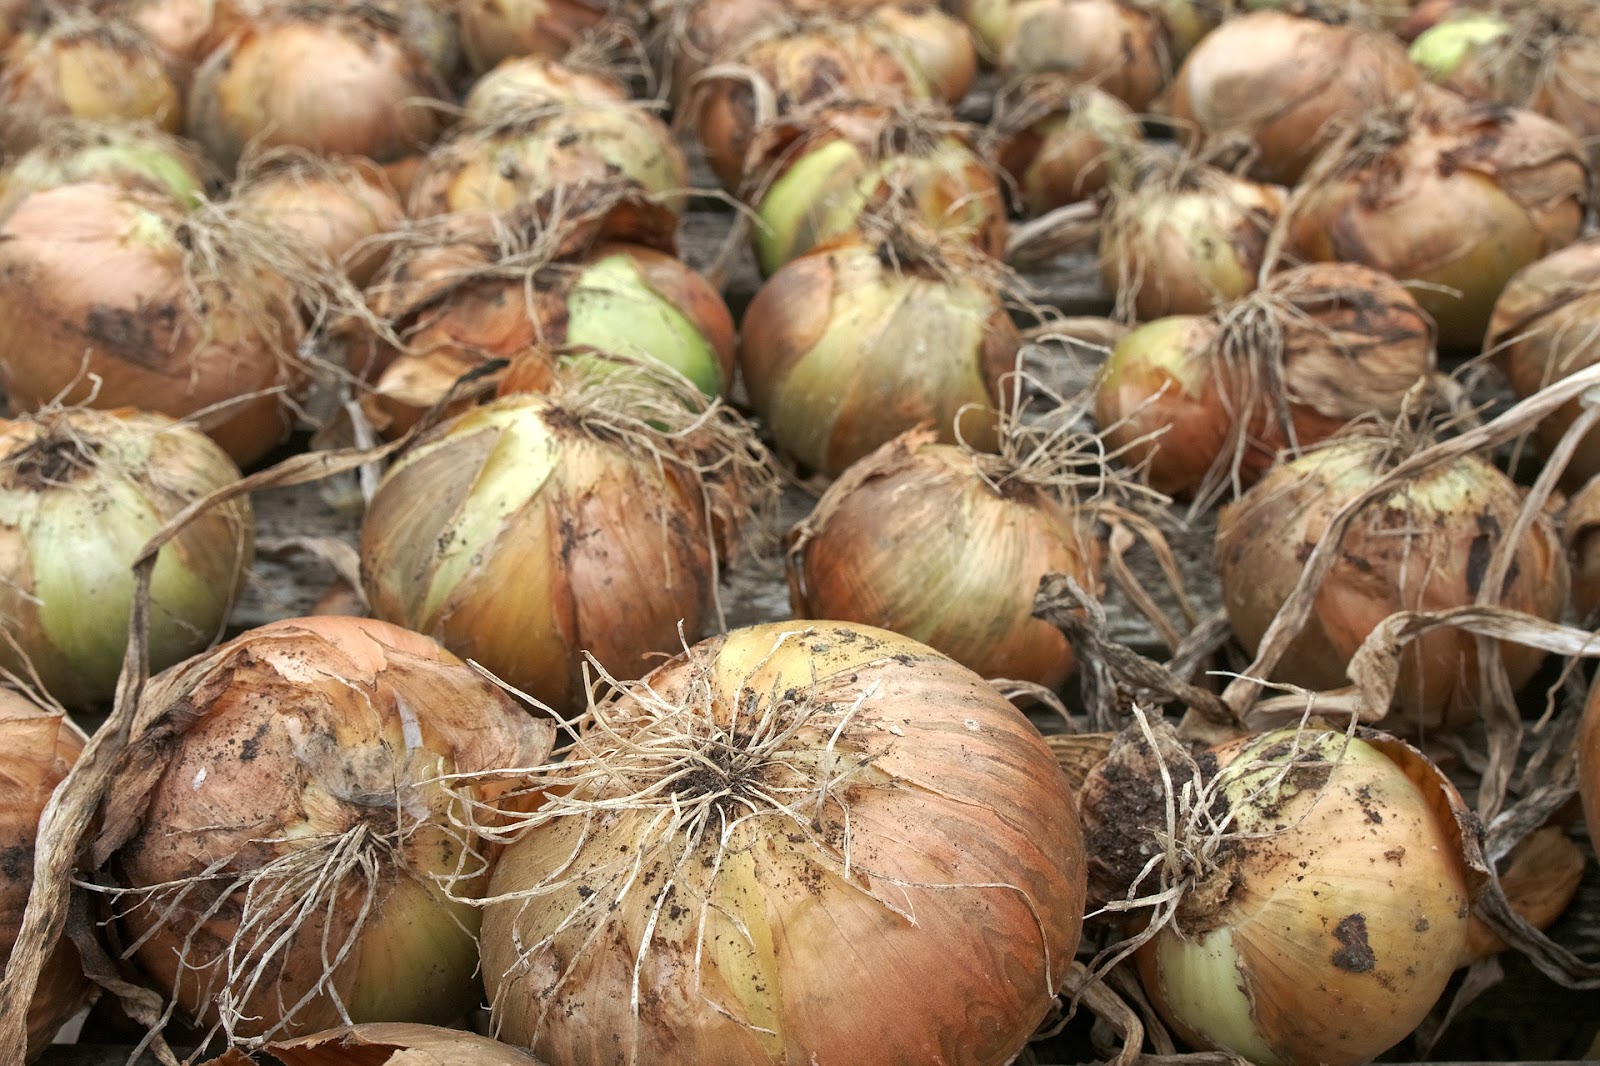
While you can store any fruit or vegetable in a root cellar, often root vegetables such as carrots, potatoes, parsnips, rutabagas, beets, or turnips are typically stored most frequently which is how they got their name. Root cellars are also an ideal environment for storing jars of home-canned goods since heat can cause canned goods to spoil.
A secondary use for a root cellar is that wine beer and other alcoholic beverages store beautifully in a root cellar with their moderate temperatures. A root cellar is a time-tested storage method and is definitely worth considering for any property.
The Elements of A Fully Functioning Root Cellar
The measure of success of a root cellar depends on its temperature, humidity, darkness, and ventilation. Without these four elements working together your root cellar will likely be a disaster.
Because harmful bacteria thrive in warmth you will want to make sure that your root cellar stays between 32 and 40 degrees Fahrenheit year-round.
While this can be harder to do in the summer months, you may choose to not store anything in your root cellar during that time. Root cellars are designed to borrow the cold from the cool ground or soil but protect produce from freezing in the winter months. The cool weather helps the crops stay fresh longer allowing you to eat safe vegetables even when they’re not in season.
Don’t underestimate your humidity levels inside your cellar. Aim for 85 to 95% humidity to prevent the cellar from losing moisture through evaporation and to keep your produce from wilting. It’s not complicated to keep the humidity levels on track to have longer-lasting produce.
Most below-ground root cellars don’t need special measures taken since soil naturally has a good amount of moisture in it already. However, should you find your moisture levels are too low you can spread damp burlap bags over your produce. Just be sure they’re not too wet which could cause mold.
Equipping your root cellar with a hygrometer and thermometer is a great idea to help you track the humidity and temperature levels within your space. Checking both devices daily can help reassure you that your food is safe from harm and that your root cellar is in prime condition.
Ventilation is also key and making sure your root cellar works properly. Warm air rises so you will need to make sure your root cellar is properly ventilated to prevent moisture build-up which could possibly leave you with moldy vegetables.
Make sure your cellar has both an air intake and exhaust fan to keep the air circulating. You will want the incoming air vent low to the ground and the outlet vent should be higher and close to the ceiling. For best results, the two should be on opposite sides of your cellar. This will allow the cool fresh air in and allow the stale air to be exhausted out with a good flow in between.
The other necessary element to a root cellar is darkness. You’re likely familiar with potatoes that continue sprouting and turning green. Darkness helps prevent that from happening. Keeping your root cellar as dim as possible will help keep your vegetables fresh longer.
Making sure the ventilation, darkness, temperature, and humidity are correct in your root cellar will help prevent you from being disappointed. This might seem complicated but in reality, will be fairly easy to pull off when you build your root cellar.
How to Build Your Own Root Cellar From Scratch
Most typically a root cellar is an underground room that will maintain its temperatures into the mid-thirties in the winter and mid-50s in the summer. If you are hoping to create your own root cellar, the first thing you’ll need to do is check the legal requirements in your area and then choose the perfect spot.
If your region gets a lot of snow you’ll want to choose a location that sheltered so you don’t have to dig in the snow to reach your produce. Beneath the porch or inside a dirt floor shed are great location ideas for snowy climates. If you live in a warmer climate you’ll have a lot more options for your root cellar to be located since you won’t need to avoid letting snow in.
No matter where you live you will also want to avoid trees since ironically their roots can pose a problem. Not only can they make digging difficult but over time as the roots grow, they can crack the walls of your cellar. An open space will work best for a location for your new root cellar.
Digging the Hole For Your Root Cellar
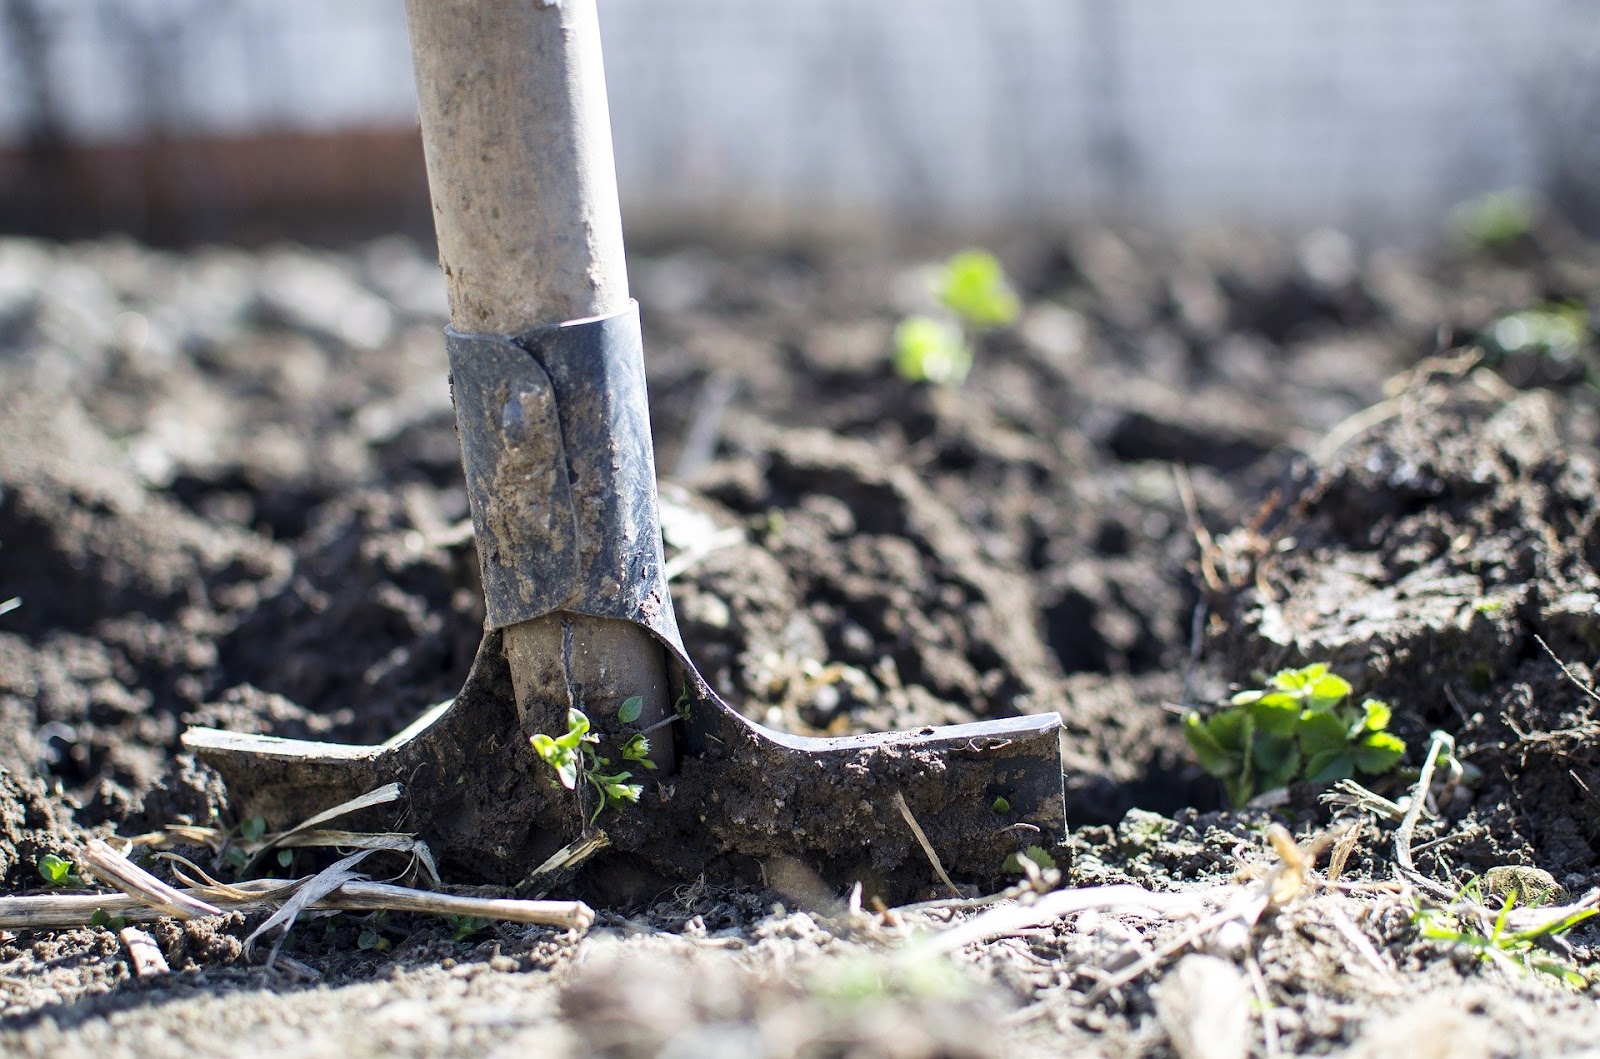
Next, you will need to dig a hole. First, check to see if there are any buried electric lines or underground plumbing in the general area you wish to dig. Calling your utility companies before you dig could save you a lot of unnecessary expenses as well as potentially keep you from harming yourself should you hit a live electric wire.
Depending on the size of the root cellar you’re looking for, dig your hole. Complete temperature stability requires a hole to be around 10 feet deep. Consider your soil and the water table in your area before you tackle digging to be sure your root cellar won’t flood or cave in.
If you’re hoping for a large root cellar that you can walk in you may wish to hire someone with experience digging graves or with a backhoe to help you. For smaller root cellars you can likely dig yourself with a shovel.
Build The Footer and Walls for The Root Cellar
The best root cellars have dirt floors. Packed earth will help control the humidity in the cellar easily, but it is difficult to build walls right on the dirt so consider pouring a cement footer to build your walls on.
Once you have a foot you can get to work on your walls. The easiest option is to use cinder blocks. Be sure to use plenty of mortar to hold them in place. This is for your safety and to be certain your root cellar will be usable.
Build A Roof On Your New Root Cellar
The roof can be one of the most challenging parts of building a new root cellar. Because you want it to be made out of concrete, it will take some time to complete this next step. Again, professionals are well-equipped to help but it is not impossible for this to be done on your own. Be sure to factor in your vents before you pour the concrete since adding them later can be problematic.
You will want to build a rounded ceiling, this will help excess condensation run down the sides and avoid ruining your produce. Use a wooden form and rebar as a support for your concrete as it is poured and hardening. Be sure you don’t enter your root cellar until you’re positive the concrete has cured properly and will not cave in.
Once the roof is properly hardened and safe you can remove your wooden form from the inside. At this point get excited, your root cellar is nearly complete! Add some soil to cover the roof, about 2 feet should keep your ceiling properly insulated.
Add Stairs and A Door To Get to The Root Cellar Easily
You’ll need a way to get in and out of your root cellar safely, so building stairs is a good idea since carrying produce up a ladder may prove difficult. Building your stairs doesn’t need to be complicated. But you do want to make sure your root cellar is properly insulated so you will need a door both at the bottom of the stairs and at the top.
If you live in a snowy climate, you may want to build a small shed over the door so you won’t have to dig out the entrance when you need to get down there but this is completely a personal preference. You can also add a shed in later years if you find you’d prefer to have one after trying it out for a time.
Install Your Root Cellar Shelves and Stock Them
For larger root cellars you will want to have wooden shelves to keep your produce and cans organized and safe. Wooden shelves and bins are your best bet in a root cellar since wood doesn’t conduct heat and cold as quickly as metal does.
Stock your root cellar as late in the season as possible. If possible, chill your produce in the fridge before you place them in your cellar. It is better to store your vegetables with some dirt on them rather than being freshly washed. The excess moisture from washing could cause mold to grow or the produce to break down.
Smaller Root Cellars
Did you know it’s possible to have a small root cellar? These root cellars lack the storage capabilities of larger options but are a great first step into discovering the benefits of root cellars and can be easily created in one afternoon. If you just want to buy potatoes in bulk and not have them go bad, smaller root cellars are the choice for you.
You will need a few items to get started. galvanized steel garbage can with a lid, chopped straw, gravel, a tarp, and a cinder block. All of these things are easily purchased at your local hardware store. You’ll also need a drill and shovel though you likely already have these around your house or workshop.
As you begin digging, following all the safety recommendations for the larger root cellars, you should aim to dig your hole large enough to insert the trash can into while leaving approximately four inches of the can above the soil line. Take into account that you will be lining the bottom as you dig.
Line the floor of the dirt hole with your gravel to help drain rainwater away from the can. This is an important step to keeping your produce from getting moldy. Before inserting the garbage can into the hole take some time to drill ventilation holes all around the bottom of the can roughly six inches apart from one another.
Fill the can up with produce, layering with plenty of straw between varieties, and cover it with the lid. Pile twelve inches of straw on top of the closed lid then cover that straw with a waterproof tarp to stop rain from seeping into the can. Put your cinder block on top of the tarp to keep everything in place and to prevent wildlife from forging your produce.
It may seem straightforward, but you’ve just created a root cellar. Perhaps not the fanciest, but is still worthy of keeping your potatoes fresh longer. These smaller backyard options are a great introduction to the benefits of root cellars or for yards that may not be able to accommodate larger options.
A Final Thought on Building Your Own Root Cellar
No matter which kind of root cellar you prefer, making your own doesn’t need to be difficult. You too can enjoy the fruits (and vegetables) of your labors with a root cellar to keep your kitchen well-stocked throughout the winter and early spring months. Whether you’re a master gardener looking for a way to keep your potatoes fresh or preparing for zombies, enjoy your root cellar and its many benefits!